On the trail, every ounce in your pack is a decision — and that’s exactly why freeze-dried food belongs in it. Because freeze-drying removes about 98–99% of a food’s water weight through sublimation, you carry the calories and flavor without hauling the water. A handful of freeze-dried fruit or meat weighs almost nothing, packs flat, and reconstitutes with a little water from your bottle or a stream. For backpackers and day-hikers alike, that’s the whole game: maximum fuel, minimum weight.
Calories per ounce is what really matters
When you’re planning trail food, don’t think in servings — think in calories per ounce. A hard day of hiking can burn well past 3,000–4,000 calories, and you have to carry every one of them. Freeze-dried ingredients shine here because the water (which has zero calories but real weight) is gone. That means you can build meals that are calorie-dense and pack-light at the same time.
The goal isn’t the lightest food — it’s the most calories and nutrition per ounce you’re willing to carry. Freeze-dried hits that sweet spot.
Build your own trail meals from single ingredients
You don’t need pre-assembled pouches. Building meals from individual freeze-dried ingredients gives you control over calories, flavor, and portion size — and it’s usually cheaper per meal.
No-cook builds (cold soak or eat dry)
- Overnight oats: oats + freeze-dried fruit, add cold water in the morning and let it sit while you break camp.
- Trail snack mix: freeze-dried fruit and veggie pieces straight from the bag for fast energy — no prep at all. Our snack line is built for exactly this.
- Cold-soak couscous or instant rice with freeze-dried veggies stirred in.
Just-add-water builds (hot meals)
- Protein bowl: instant rice + freeze-dried meat + freeze-dried vegetables. Add hot water, wait a few minutes, done.
- Hearty soup: bouillon + freeze-dried veggies + beans.
- Camp breakfast scramble using freeze-dried eggs and veggies.
Freeze-dried ingredients rehydrate fast — usually within minutes — because the porous, dried structure soaks water right back up. Meats take a little longer than fruits and veggies, so add hot water and give them time.
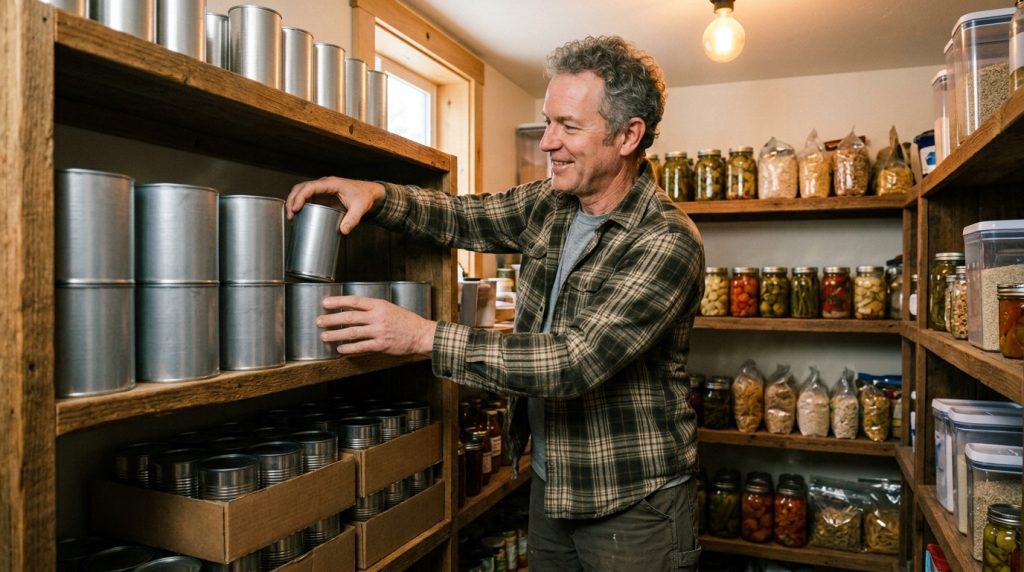
Build Your Freeze-Dried Pantry
Hand-picked categories for this guide — sealed for 20–30 years, ready when you are.
Plan around water availability
Just-add-water meals are only as convenient as your water supply. Before you lean heavily on rehydrated meals, know your route:
- Reliable water sources? Go heavy on just-add-water meals and carry less weight.
- Dry stretches or uncertain sources? Lean on no-cook, eat-dry snacks and carry the water you’ll need.
- Either way, treat your water. A good filter or purification setup is non-negotiable backcountry gear — see our water and filtration selection.
Repackaging for the pack
Bulk #10 cans are great for the pantry but useless on a trail. Repackage before you go:
- Portion meals into resealable zip-top or small Mylar bags, one meal per bag.
- Label each with contents and water needed.
- Squeeze out the air to save space and protect the food from humidity.
- For trips longer than a few weeks, toss a small oxygen absorber or desiccant in to keep things crisp.
Repackaged single-ingredient portions let you mix and match meals on the fly instead of being locked into fixed combinations.
Don’t forget the gear
Great trail food still needs a way to heat water and a pack that carries it well. Round out your kit from our camping and outdoor range, and for longer or more remote trips, our survival gear covers the just-in-case essentials — because the best meal plan in the world doesn’t help if you can’t boil water.
Lighter pack, better food, fewer compromises. Start building your trail menu from our freeze-dried fruits and meats, then gear up in camping and outdoor for your next adventure.